- Know your wood type: Different woods absorb stain differently—softwoods like pine blotch easily, while hardwoods like oak and maple show grain beautifully.
- Proper preparation is essential: Clean, sand, and, if needed, apply wood conditioner to ensure an even finish and prevent blotches.
- Choose the right stain: Oil-based stains offer rich, long-lasting color, while water-based stains dry faster and are easier to clean.
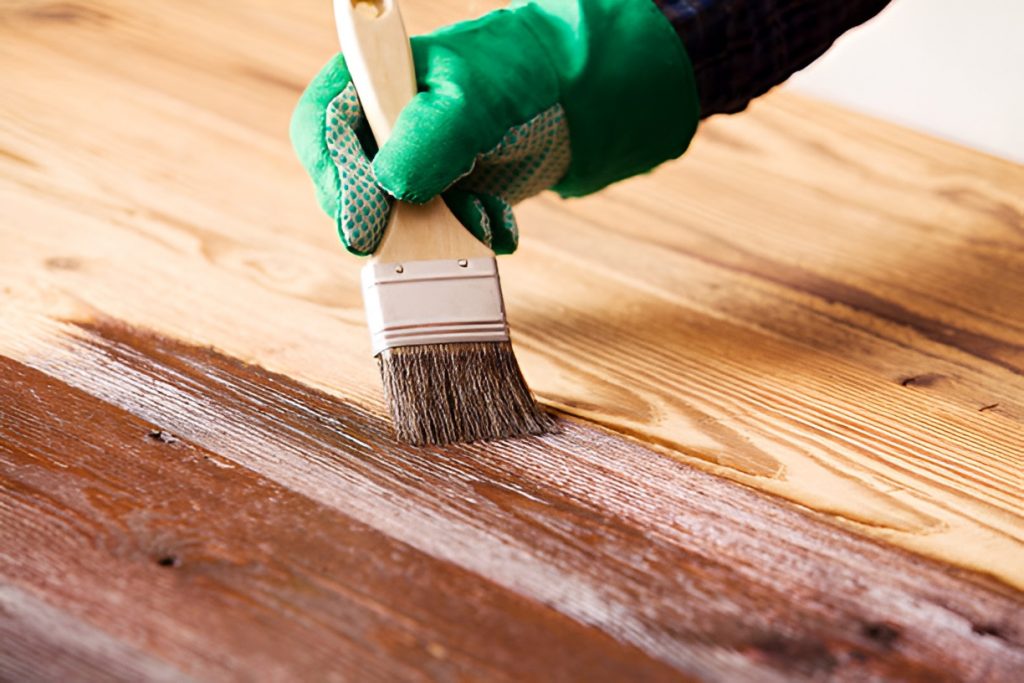
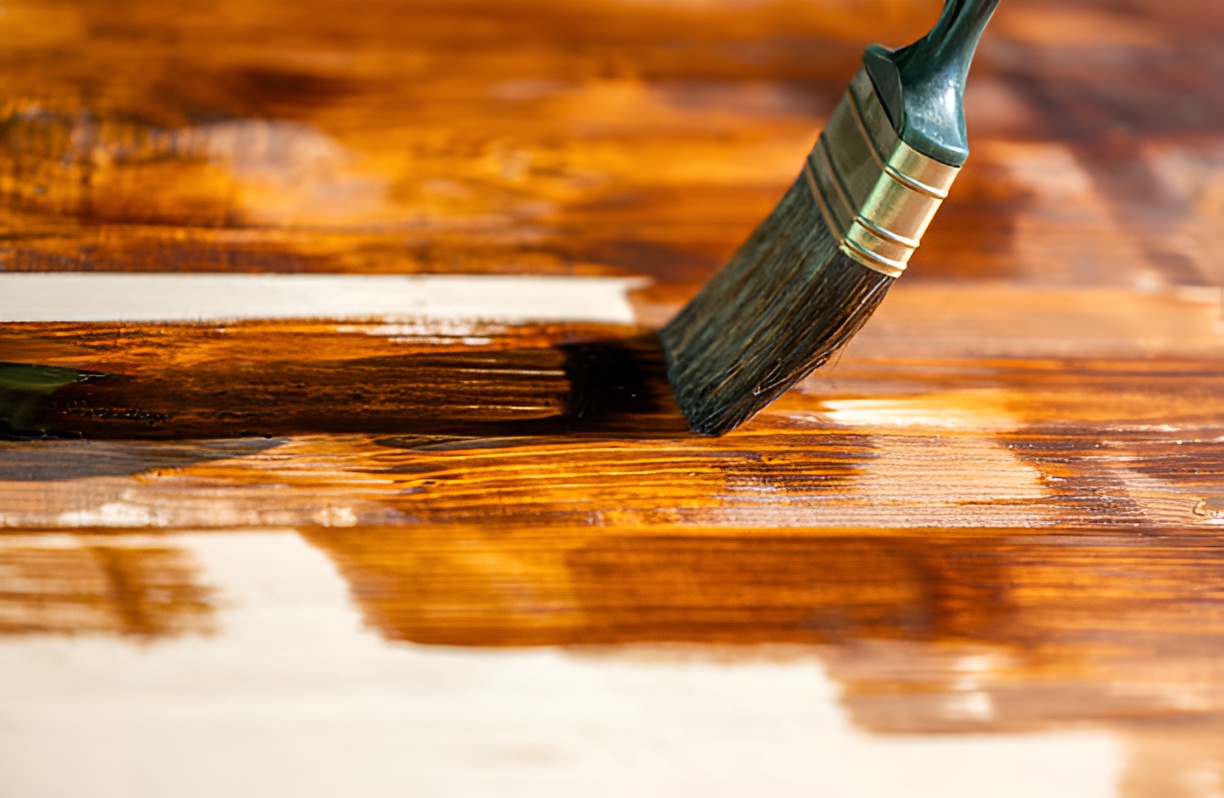
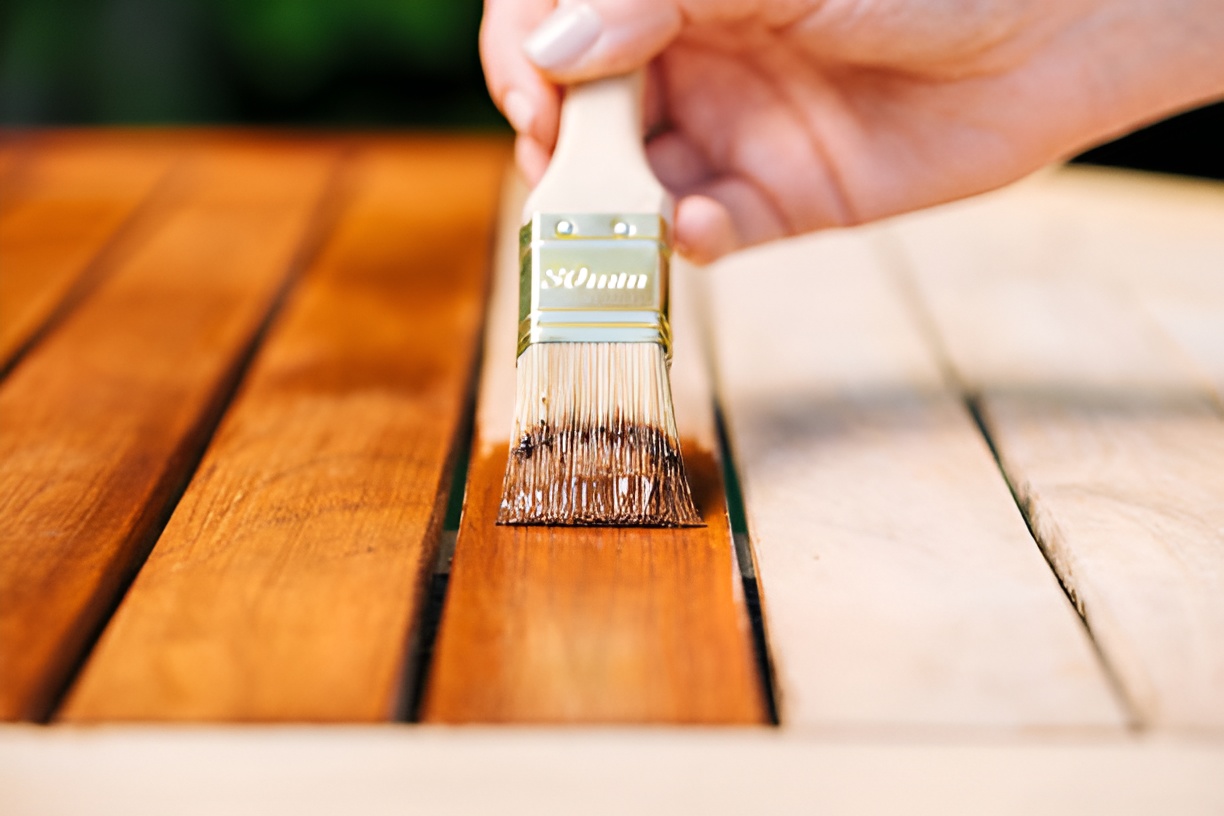
- Apply stain carefully: Work in the direction of the grain, use thin layers, and wipe off excess to avoid streaks or uneven coloring.
- Seal and protect your work: Finishing with polyurethane, varnish, wax, or oil enhances the stain, protects the wood, and prolongs furniture life.
- Avoid common mistakes: Don’t skip sanding, overapply stain, or rush the process—patience and attention to detail produce the best results.
- Tailor techniques to each wood: From oak to walnut, adjusting prep, stain type, and application method ensures your furniture looks professional and lasts longer.
Staining wood furniture is one of the simplest ways to breathe new life into your home, whether you’re revamping an old coffee table or giving a dresser a modern finish. But not all wood is created equal, and using the wrong approach can leave your project looking blotchy or uneven. In this guide, we’ll cover everything you need to know about how to stain wood furniture, with a special focus on techniques for different wood types.
Why Does Wood Type Matter When Staining?
Not all wood reacts the same way to stains. Some woods are soft and porous, soaking up color unevenly, while others are dense and may resist absorbing stain at all. Choosing the right technique for your wood type ensures a smooth, even finish and helps your furniture last for years.
Factors that affect staining include:
- Wood density: Hardwoods like oak and maple absorb stains differently than softwoods like pine or fir.
- Grain pattern: Some woods have open grains that can create a textured look, while closed-grain woods may appear smoother.
- Natural color: Lighter woods show stains more vividly, while darker woods may need a lighter touch to avoid overpowering the piece.
Understanding these differences is the first step toward achieving professional-looking results.
Tools and Materials You’ll Need
Before you start staining, make sure you have the right tools. Having everything on hand prevents frustration mid-project. Here’s a basic list:
- Sandpaper (various grits, 120–220 recommended)
- Wood conditioner (especially for softwoods)
- Stain (oil-based, water-based, or gel depending on preference)
- Brushes or foam applicators
- Clean rags or lint-free cloths
- Protective gloves
- Drop cloth or newspaper to protect your workspace
- Clear finish (polyurethane or varnish for sealing)
Optional tools for a smoother finish:
- Tack cloth to remove dust between sanding steps
- Fine steel wool for polishing between coats
- Painter’s tape for protecting edges and non-wood areas
Having the right tools and materials makes the process easier and ensures a better final look.
How to Prepare Your Wood Furniture for Staining
Proper preparation is key to a flawless stain. Skipping steps like sanding or cleaning can lead to streaks, blotches, or a finish that peels over time. Before you dive into staining, it’s helpful to understand the basics of how to refinish wood furniture, since many of the preparation steps overlap—removing old finishes, smoothing surfaces, and cleaning thoroughly all make a big difference in the final look.
- Clean the surface: Remove dust, dirt, and grease with a mild soap solution. Let the furniture dry completely.
- Remove hardware: Take off handles, knobs, and hinges to avoid getting stain on metal parts.
- Sand the wood: Start with coarse-grit sandpaper (120–150) and finish with fine-grit (220) for a smooth surface. Always sand in the direction of the wood grain.
- Apply wood conditioner (if needed): Softwoods like pine or birch can absorb stain unevenly. Pre-treating with a conditioner creates a more uniform finish.
Skipping these steps can result in an uneven or blotchy look, so take your time here.
How to Stain Wood Furniture by Type
Different woods require slightly different techniques to achieve the best results. Here’s a breakdown:
How to Stain Oak Furniture
Oak is an open-grain hardwood, which means it readily absorbs stain and shows the wood’s natural grain beautifully.
- Preparation: Sand the surface thoroughly and wipe with a tack cloth.
- Wood conditioner: Optional, but can help create a slightly more even finish.
- Application: Use a brush or cloth to apply the stain, following the grain. Let it sit for 5–15 minutes depending on the desired darkness, then wipe off excess with a clean cloth.
- Tip: Oak can handle darker stains well, making it perfect for rich finishes like walnut or espresso.
How to Stain Pine Furniture
Pine is soft and tends to blotch because it absorbs stain unevenly. A pre-stain conditioner is almost always necessary.
- Preparation: Sand gently to avoid creating deep scratches that will show under stain.
- Wood conditioner: Apply generously and let it soak in according to the product instructions.
- Application: Wipe on stain in thin layers. Avoid letting it pool, which can darken spots unevenly.
- Tip: Use lighter shades or gel stains for a more consistent look. Gel stains sit on the surface, reducing blotching.
How to Stain Maple Furniture
Maple is a dense, close-grain wood, which makes it resistant to absorbing stain evenly.
- Preparation: Sand carefully to smooth the surface without creating a polished sheen that repels stain.
- Wood conditioner: Highly recommended to help the wood absorb color more uniformly.
- Application: Apply stain in thin layers, and wipe off quickly to prevent streaking.
- Tip: Maple often looks better with lighter stains or color washes that enhance its natural beauty.
How to Stain Cherry Furniture
Cherry naturally darkens over time, so stains can intensify this effect.
- Preparation: Sand and clean thoroughly.
- Wood conditioner: Optional, depending on the finish you want.
- Application: Apply thin layers to avoid a very dark, uneven finish.
- Tip: Light stains can highlight the warm, reddish tones, while dark stains can create a dramatic look.
How to Stain Walnut Furniture
Walnut has a rich, dark natural color that usually requires minimal staining.
- Preparation: Light sanding and cleaning are enough.
- Wood conditioner: Rarely needed because walnut absorbs stain evenly.
- Application: A light stain can enhance the natural grain, but too much can overpower its character.
- Tip: Consider a clear finish instead of heavy stain to let walnut’s natural beauty shine.
Oil-Based vs. Water-Based Stains: Which Should You Choose?
The type of stain you use affects the final look and the staining process. Here’s a comparison:
Oil-Based Stains
- Penetrate deeper for rich, long-lasting color
- Allow more working time
- May yellow slightly over time
- Requires mineral spirits for cleanup
Water-Based Stains
- Dry faster
- Easier cleanup with soap and water
- Less odor
- Can raise the wood grain, requiring light sanding between coats
Tip: For beginners, oil-based stains are often more forgiving, while water-based stains are ideal for a quick, low-odor project.
Common Mistakes to Avoid When Staining Wood Furniture
Even experienced DIYers can make mistakes. Here’s what to watch out for:
- Skipping wood conditioner on softwoods – leads to blotchy color
- Applying too much stain – creates sticky or uneven patches
- Not wiping off excess stain – results in darker areas or sticky surfaces
- Sanding too little or too much – uneven texture or difficulty absorbing stain
- Rushing the process – stain and finish need time to dry for the best look
A careful, patient approach usually results in a much better outcome than trying to finish too quickly.
How to Apply Stain Like a Pro
No matter the wood type, these tips will help you achieve a smooth, professional finish:
- Always work in the direction of the wood grain
- Apply stain in thin layers and build color gradually
- Wipe off excess immediately to prevent dark spots
- Use a tack cloth between coats if applying multiple layers
- Finish with a clear sealant to protect the wood and enhance the color
Sealing and Protecting Stained Furniture
Once your stain is dry, sealing your furniture protects it from spills, scratches, and UV damage. Options include:
- Polyurethane: Durable and long-lasting, available in gloss, semi-gloss, and satin
- Varnish: Ideal for high-traffic furniture or outdoor pieces
- Wax: Gives a soft sheen but requires more frequent reapplication
- Oil finishes: Penetrate the wood and enhance grain, but may darken over time
Tip: Test your finish on a small, hidden area first to see how it reacts with the stain.
Frequently Asked Questions About Staining Wood Furniture
Q: How long should I wait between coats of stain?
A: Typically 4–6 hours for oil-based stains and 2–3 hours for water-based stains. Always check the manufacturer’s instructions.
Q: Can I mix wood stains to create a custom color?
A: Yes, but mix small test batches first to ensure you like the result. Some combinations may produce unexpected shades.
Q: Do I need a primer before staining?
A: No, primer is for paint. However, a wood conditioner acts like a primer for softwoods.
Q: How do I fix blotchy stain on softwoods?
A: Lightly sand the area, apply more wood conditioner, and re-stain in thin layers. Gel stains are especially effective for softwoods.
In a Nutshell
Staining wood furniture is as much about patience and preparation as it is about technique. Understanding your wood type, using the right products, and taking your time can transform even the simplest piece into a stunning focal point for your home.
With the tips in this guide, you now know how to stain wood furniture for any wood type, whether you’re working with soft pine, dense maple, or rich walnut. Experiment, test, and enjoy the process—your furniture will thank you for it.